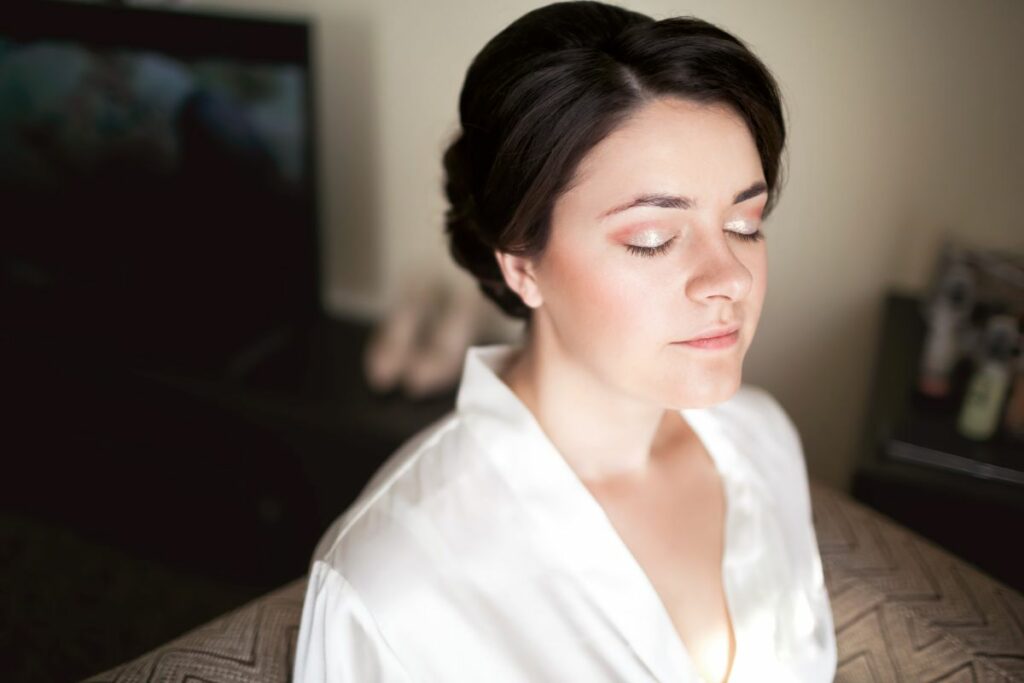
On your wedding day, looking and feeling your best is important.
While many brides will hire professionals to help them glow on their big day, embracing DIY beauty allows you to express your personal style and shine with a sense of achievement.
Crafting your pre-wedding skincare routine ensures your skin is radiant and primed for makeup application. Starting well in advance, focus on nurturing your skin with hydration and targeted treatments to create the perfect canvas.

When designing your bridal makeup look, consider the theme of your wedding and the durability of products to ensure your makeup endures throughout the event.
Mastering detailed makeup application techniques utilizing quality tools can help achieve professional-looking results.
We’ll cover all of this and more in today’s guide, so stick with us.
Key Takeaways
- Start a skincare regime early to enhance your natural glow.
- Choose makeup that reflects your style and lasts all day.
- Learn and practice makeup techniques for an impeccable finish.
Creating Your Pre-Wedding Skincare Routine
Your wedding day is approaching, and it’s crucial to tailor a skincare routine that complements your specific skin type.
Achieving a radiant complexion involves choosing the right products and dedicating time to care for your skin well in advance of the big day.
Determining Your Skin Type
First, you need to identify your skin type to establish a skincare routine that will leave you with a flawless complexion on your wedding day.
Skin can be broadly categorized as normal, oily, dry, combination, or sensitive.
- Normal: Your skin is balanced with few imperfections.
- Oily: You have shiny skin with larger pores and may be prone to breakouts.
- Dry: Your skin can feel rough, appear dull, and often feels tight.
- Combination: You exhibit qualities of more than one skin type, often with an oily T-zone and dry cheeks.
- Sensitive: Your skin reacts easily to products, causing redness, itching, or rashes.
Recognizing your skin type is the foundation of any effective skincare routine. It determines the products you choose and how you address specific concerns.
Selecting the Right Products
Once you’ve pinpointed your skin type, selecting the right skincare products is the next step.
- Moisturizer: Essential for all skin types, moisturizer keeps skin hydrated. Opt for a water-based moisturizer if you have oily skin or a richer formula for dry skin.
- Sunscreen: This is crucial for protecting your skin from harmful UV rays. It prevents premature aging and should be worn daily, regardless of the weather. Many people miss this step but trust us when we say it should be a fundamental part of your routine.
- Cleansers and Toners: Choose a gentle cleanser that won’t strip your skin of its natural oils. Follow with a toner to balance the pH levels.
Here’s a simple table to help match products to your skin type:
| Skin Type | Moisturizer | Sunscreen | Cleanser & Toner |
| Normal | Lightweight, hydrating | SPF 30+ | Gentle, non-drying |
| Oily | Oil-free, non-comedogenic | Oil-free SPF 30+ | Foaming, mattifying |
| Dry | Dry Rich, emollient-based | Hydrating SPF 30+ | Cream-based, hydrating |
| Combination | Gel-based (oil-free T-zone area) | SPF 30+ | Balancing, adaptable to skin zones |
| Sensitive | Hypoallergenic, fragrance-free | Mineral-based SPF 30+ | Fragrance-free, soothing |
Introduce new products gradually and monitor how your skin responds. Remember to give products time to work; a consistent, daily skincare routine is more effective than sporadic, intensive treatments.
Starting your routine 6-9 months before the wedding can ensure your skin is at its best when you walk down the aisle.
Designing The Perfect DIY Bridal Makeup Look
Achieving a flawless bridal makeup look begins with selecting the right foundation and concealer and preparing your skin with primer and powder.
These base layers will ensure your makeup stays intact from the first photo to the last dance.
Choosing Your Foundation And Concealer
When selecting your foundation, opt for a formula that complements your skin type and offers the desired level of coverage.
Oily skin types should lean towards matte finishes, while dry skin may benefit from a hydrating formula.
Always consider a foundation with SPF to protect your skin, but be cautious of flashback in photos.
Trial the foundation under different lighting to be sure it matches your complexion.
For concealer, choose a shade one or two tones lighter than your foundation to brighten the under-eye area and conceal any blemishes. The application should be precise—using a brush or sponge, dab the concealer where needed, and blend carefully for a seamless look.
Here are some recommendations based on your needs:
| Skin Type | Foundation Finish | Concealer Tone |
| Oily | Matte | 1-2 shades lighter |
| Dry | Hydrating | Match skin tone |
| Combination | Satin | 1 shade lighter |
Setting The Stage With Primer And Powder
Start with a primer to create a smooth canvas for your makeup application. Your primer should suit your skin’s needs—hydrating, mattifying, or pore-minimizing.
The primer not only helps to maintain the makeup but also can provide added benefits like blurring imperfections or enhancing radiance.
Once your foundation and concealer are applied, set everything with a finely milled powder.
This helps to lock in your base and reduces the need for touch-ups. If you are aiming for a glowy look, apply powder sparingly to preserve the luminance. For full coverage, sweep it over the face to set and mattify.
Remember these key points:
- Use a primer that compliments your skin type.
- Set your makeup with powder to ensure it lasts.
- Incorporate these steps thoughtfully, and you will have a durable and beautiful makeup base that will uphold throughout your wedding day.
Detailed Makeup Application Techniques
Achieving a flawless look for your wedding day involves mastering makeup application techniques that emphasize your features.
Below, we will cover eye makeup, contouring and highlighting, and tips for vibrant lips and cheeks.
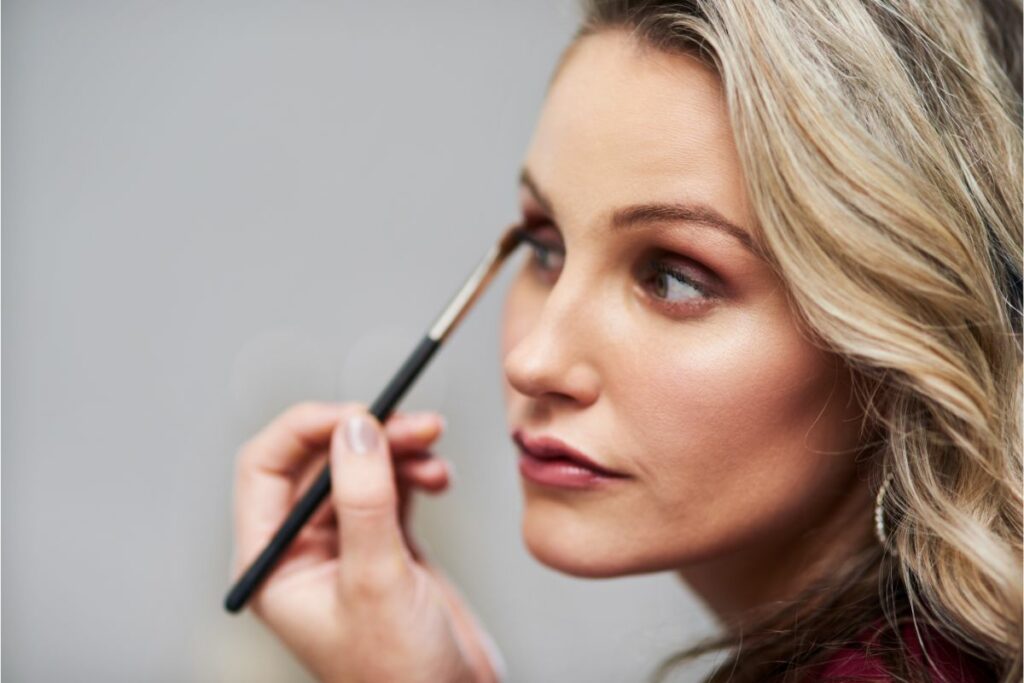
Eye Makeup Mastery
To create a captivating eye makeup look, choose a palette that complements your eye color and wedding attire.
Begin by applying a primer to ensure your eyeshadow stays put throughout the festivities.
Apply the base color using a flat brush, then define the crease with a darker shade using a blending brush for a natural gradient.
If you want a more dramatic look, consider adding a subtle cat eye with eyeliner or a dark shadow.
And don’t forget those brows – make them pop with a brow pomade that complements your natural color.
Enhance your eyelashes with an eyelash curler and a coat of waterproof mascara. For added drama, consider applying false lashes.
Tools & Products:
- Eyeshadow Primer
- Eyeshadow Palette
- Eyeliner
- Brow pomade
- Flat Brush
- Blending Brush
- Eyelash Curler
- Mascara
- False Lashes (optional)
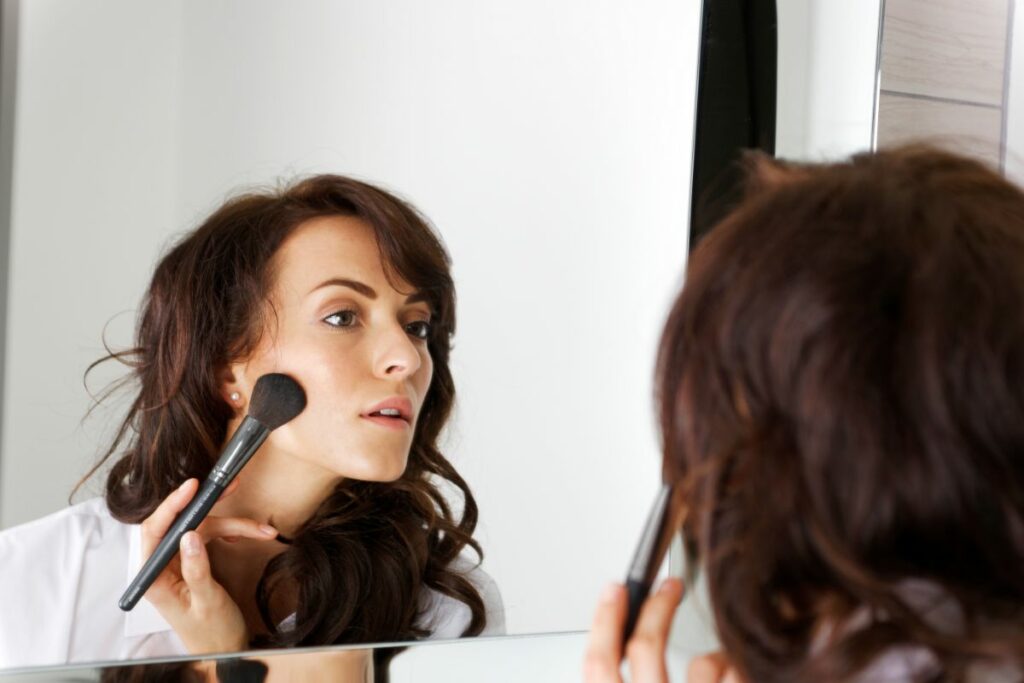
Contouring And Highlighting
Contouring and highlighting tactics shape and define your facial structure.
Use a contour brush to apply bronzer below your cheekbones, along your jawline, and at the edges of your forehead. Blend well to avoid harsh lines.
Highlighter should be applied to the high points of your face, like the tops of cheekbones, bridge of the nose, and brow bones, to create a radiant glow. Remember to blend thoroughly for a seamless finish.
Tools & Products:
- Contour Brush
- Bronzer
- Highlighter
- Blending Brush Or Sponge
Luscious Lips And Cheeks
For your lips, start with a lip liner that matches your lipstick. Outline your lips and fill them in slightly to create a base for the lipstick to adhere to, which ensures longer wear.
Opt for a creamy lipstick and finish with a light dusting of setting powder for extra longevity.
To make your lips look fuller, consider overlining your lips, but don’t go too big with the outline.
When choosing a blush, pick a shade that gives a natural flush to the cheeks. Apply it lightly on the apples of your cheeks and blend upwards towards your hairline.
Tools & Products:
- Lip Liner
- Lipstick
- Blush
- Setting Powder
Final Touches For A Long-lasting Look
Creating a wedding day makeup look that lasts requires attention to detail and the right final steps. The goal is to ensure your makeup stays fresh and photogenic from the ceremony to the last dance.
The Right Use Of Setting Products
Once your makeup application is complete, it’s essential to secure your look with the appropriate setting products.
A fine mist of makeup setting spray can lock everything in place and add a fresh glow.
Hold the bottle about an arm’s length away and spritz in an “X” and “T” formation for thorough coverage.
If you prefer a matte finish, a light application of translucent powder can help control shine and blur any imperfections, ensuring camera-ready skin.
Setting Spray Use:
- Mist: Hold the spray arm’s length away and mist the face in an “X” and “T” pattern.
- Dry: Allow to dry naturally.
Translucent Powder Application:
- Use a fluffy brush to dust lightly over the T-zone.
- Apply sparingly to avoid a cakey appearance.
Last-Minute Fixes And Adjustments
Even with the perfect makeup, trial, and practice, unexpected issues may arise. Keep a small kit for last-minute fixes, like a pressed powder for shine control or a dab of concealer for any imperfections that crop up.
Waterproof mascara will ensure your lashes remain flawless if you shed a few tears of joy.
Lastly, consider the lighting and weather; quick touch-ups to adapt to these conditions may be necessary to preserve your look.
Fixes Kit:
- Concealer: For sudden blemishes.
- Pressed Powder: To manage shine.
- Waterproof Mascara: To keep lashes intact.
By focusing on these final touches and adjustments, you can feel confident that your wedding day makeup will withstand the elements and keep you looking radiant in your photos.
Our Final Word
If you’re looking to save on costs for your big day, you can choose to do your own makeup instead of hiring an artist. Of course, you may also just prefer to do your own makeup to create the exact look you want.
Whatever your reasons, follow our tips above to ensure your DIY wedding makeup is flawless and photo-ready.
Frequently Asked Questions
How can I achieve a flawless makeup look for my wedding?
To ensure a flawless makeup look, start with a primer to create a smooth base and use high-quality products. Blend well and use setting powder or spray to secure your makeup.
What steps should I take to prepare my skin for my big day?
Skincare is the foundation of great makeup. Begin a skincare routine well in advance, including cleansing, exfoliating, and moisturizing. To prep your skin, consider applying a detoxing or hydrating mask the morning of your wedding.
What are some beginner-friendly tips for DIY wedding makeup?
If you’re new to makeup, focus on key features like skin, eyes, and lips. Practice makeup application before the wedding day and opt for simple, classic looks that enhance your natural beauty without overwhelming.
How do I choose the right makeup products for long-lasting wedding day beauty?
Select products labeled as long-wearing or waterproof. Test them under similar conditions to your wedding day, ensuring they last through heat, tears, and sweat. Use products like a lip primer for added longevity.
What is the simplest way to do makeup for a wedding as a guest?
As a wedding guest, aim for a polished yet understated look. Begin with a good primer, pick neutral shadows, and choose a lip color that complements your outfit. Remember to bring touch-up items like blotting papers and lipstick.